
How to make a Costco Garden Bed into a Whelping Box
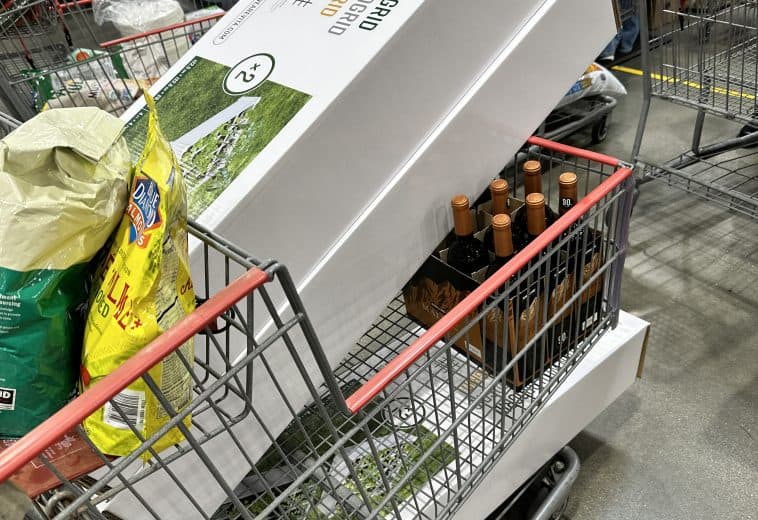
Looking for an easy, affordable way to build a whelping box? This guide shows you how to transform a Vita Classic Vinyl Raised Garden Bed from Costco into a versatile and easy-to-clean whelping solution. We love this option because its vinyl construction makes it simple to sanitize, it offers multiple configuration possibilities, and it’s a great value.

Shopping List
- Two Vita Classic Garden Bed 2-pack
- You’ll double stack the height and double the width to let them grow
- At Costco you get a two pack compared to the Vida website
- EzWhelp Fab System Pig Rails
- Waterproof Floor Liner
- 4×4′ size as well as 4×8′ size
- Washable Pads
- 4×4′ size, 4×6′ size and 4×8′ size depeding on your extension areas
- Potty Area
- Rabbit Potty Trays for initial set up
- Extendable half panels for potty wall separation
- Either buy the keyhole garden bed kit for parts or order directly from Vita’s spare parts form
- 4 panels PN: 60075
- Four Posts PN: 60073
- Four Post Caps
- Either buy the keyhole garden bed kit for parts or order directly from Vita’s spare parts form
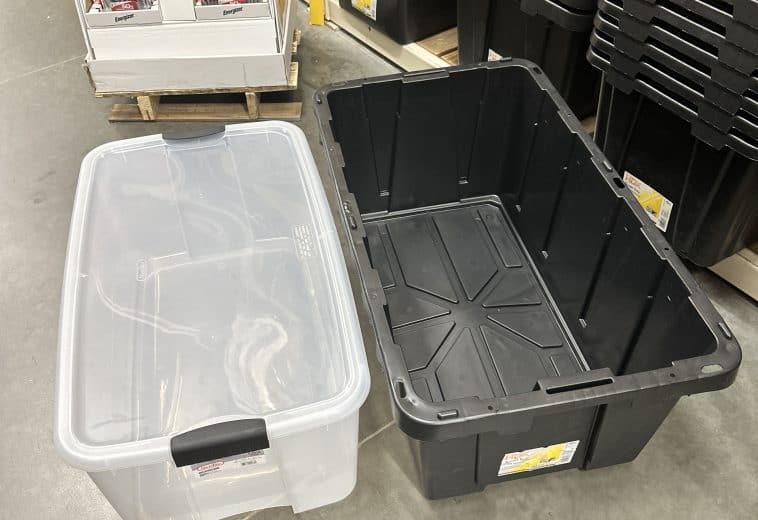
- 38 Gal Tough Storage tote for new potty area
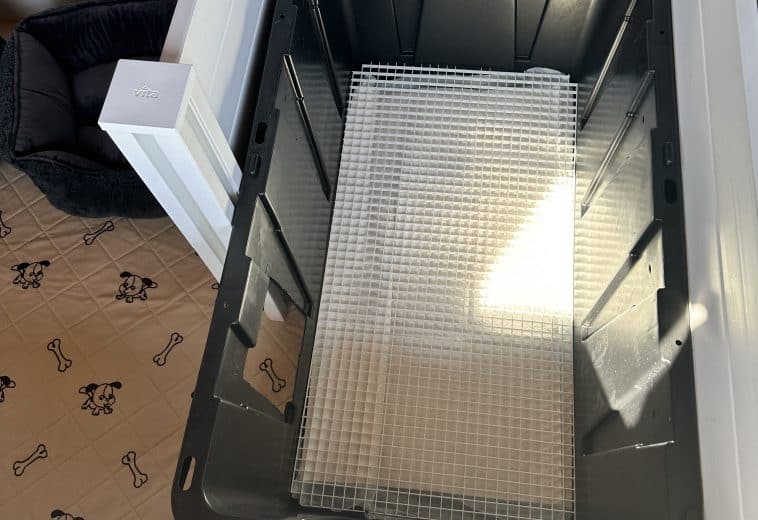
- Suspended Egg Crate Fluorescent light ceiling panel to use as grate
- Vinyl decals for branding
- Two Puppy Heating Pads
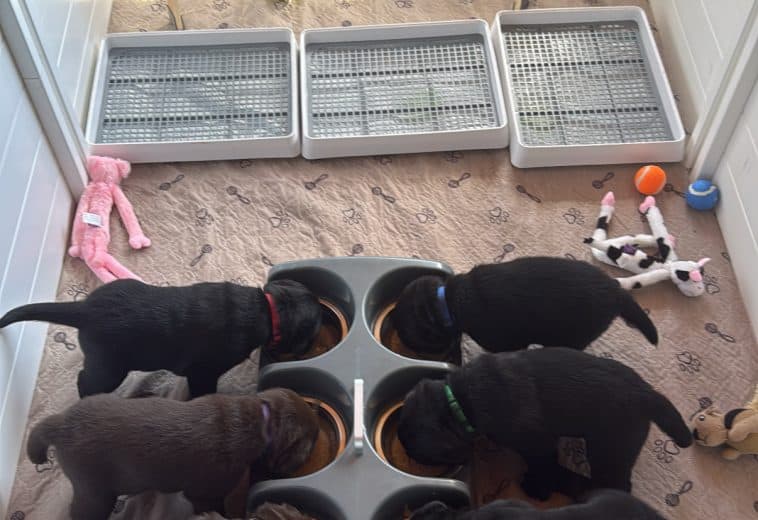
- Puppy Feeding Station
- No Spill Water Bowl
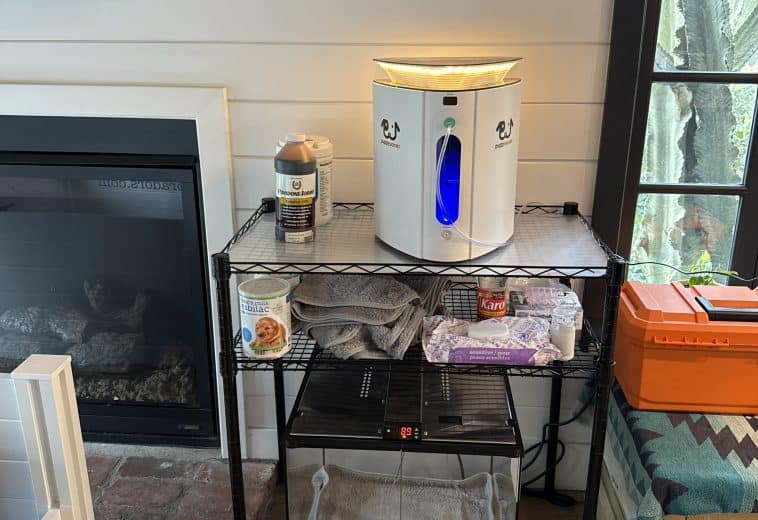
- PuppyWarmer 18×18″ Incubator
- Puppy Warmer Oxygen Concentrator
1. Assemble Your Garden Box
Lay down your floor liner, pee pad, and then start to assemble your slide together garden box.

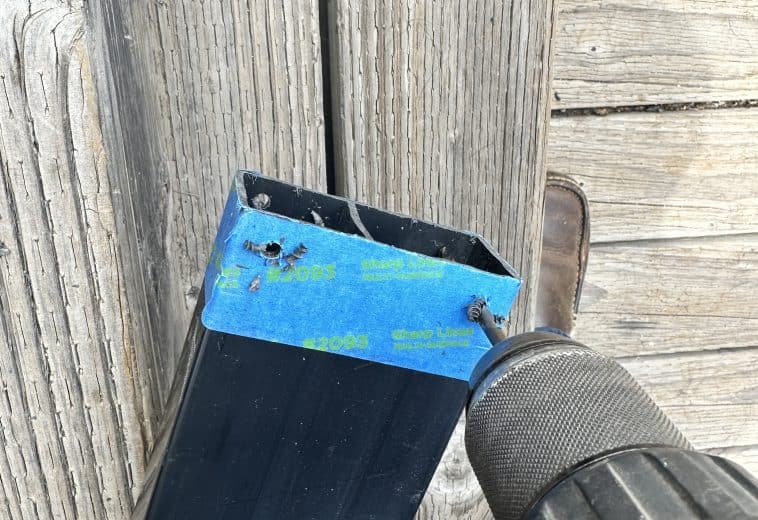
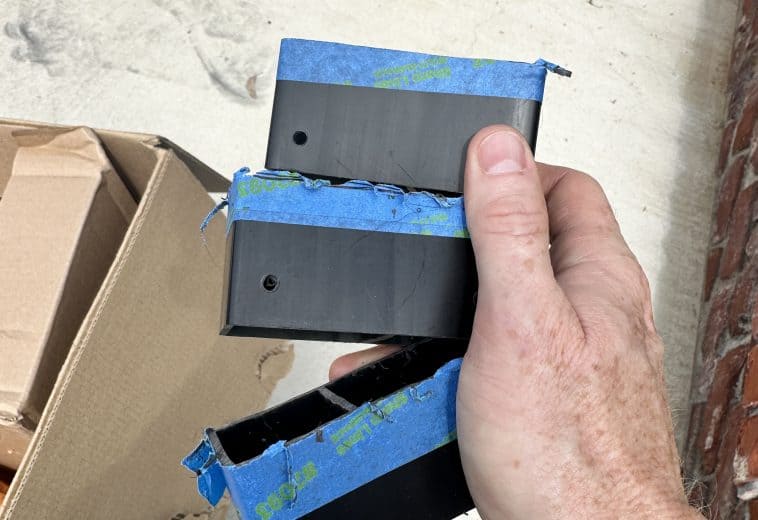
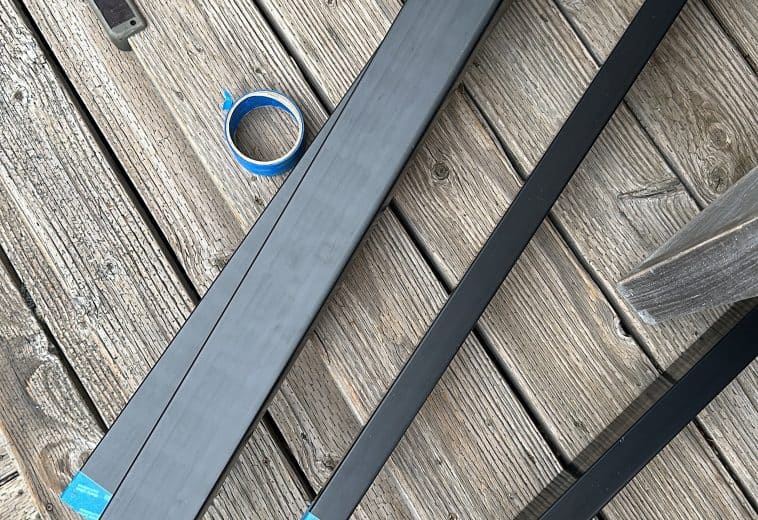
2. Trim Down Ez Whelp Pig Rails
Measure your garden box interior, but mine needed 1 3/4″ trimmed off. I then drilled new holes in for the corner pieces. If you wrap painters tape around the plastic it will help it not crack, fray, and give you cleaner cuts.

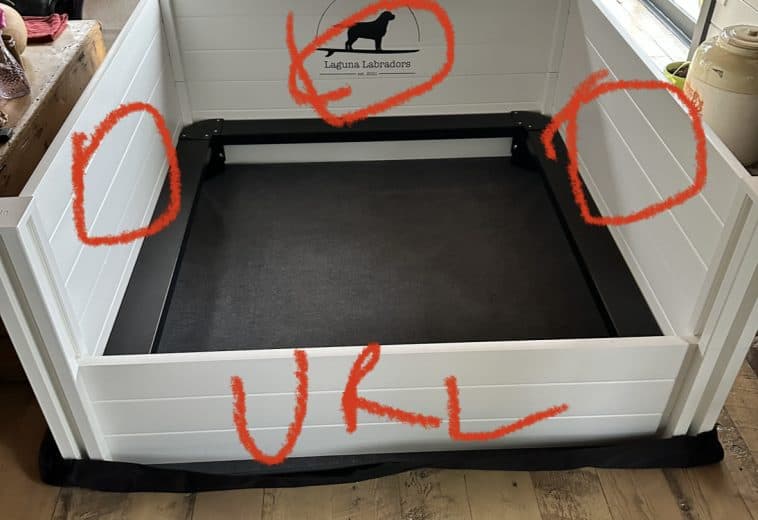
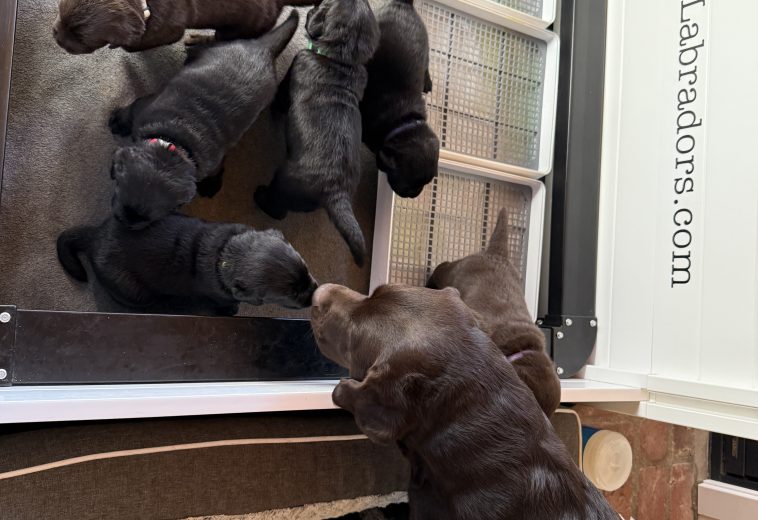
3. Make your Logo & Advertising Plan
I don’t want people stealing my puppy images so I try to always have branding in the background to help protect my brand. Measure twice, level three times, and order extra – cause I had to re do my decals due to them being crooked.
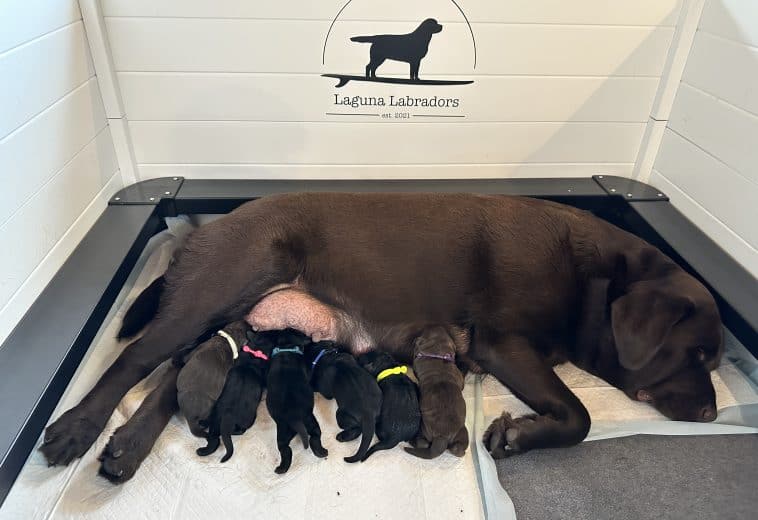
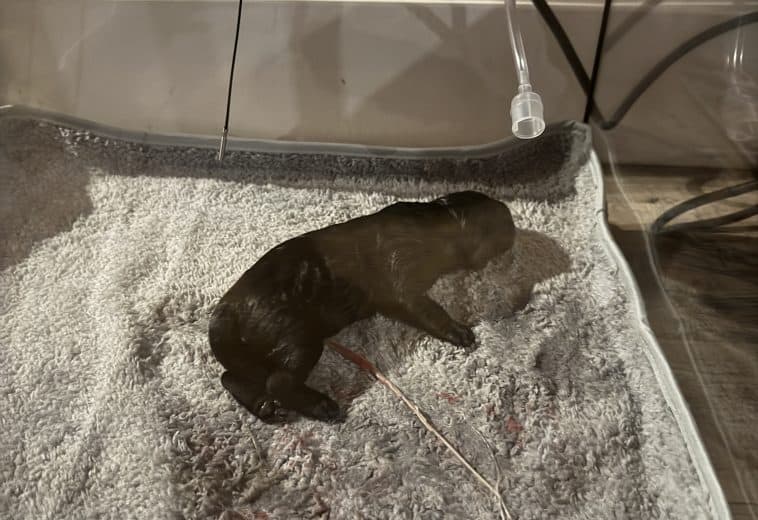
4. Add your Heating Pad
Once your puppies are born add your heating pad to give the puppies somewhere to stay warm

5. Around 2.5-3 Weeks add Rabbit Potty Trays
Once eyes open start puppy potty training by leaving a few logs of poop under the trays and start teaching the puppies to go in one area. They will naturally not want to potty in their sleep area so two trays will leave little room for your bitch to lay which is what you want.

6. Around 3.5 Weeks Add a Separate Potty Area
Use your half panels ordered directly from Vita to add an expandable potty area as your puppies continue to grow. Use your larger liner and washable pee pads.

7. Around 4.5 Weeks Double Your Whelping Box
Add another 4×4′ whelping box, a new liner, larger pee pads, etc. to give your growing puppies more room to play and grow. This is the time they can begin going outside depending on their size, the weather, and your set-up.

8. Expand your Potty Area
Around 4.5 weeks we also swap out the rabbit potty trays for a giant tote with the fluorescent light grid as a new potty area. We cut a whole in the side with a circular saw and sanded down the rough edges. We tried alfalfa pellets and various absorbers, but dog pee pads are the easiest to simply ball up and throw away.
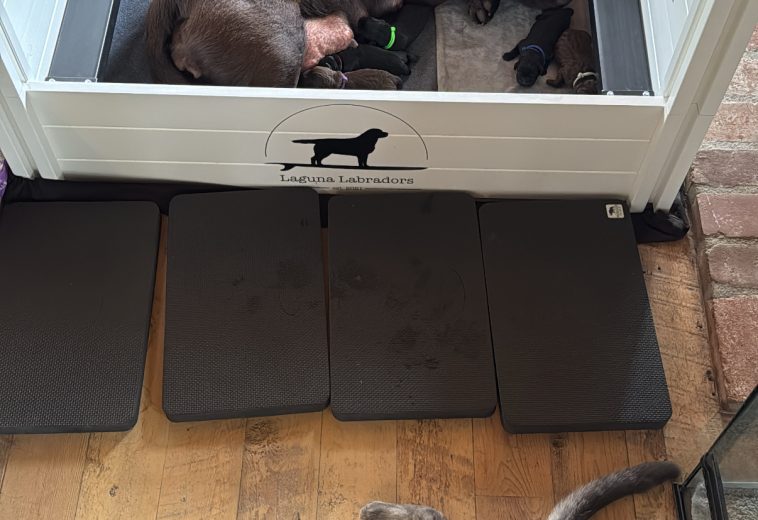
9. Invest in Your Setup
Each year add more decals, get comfy knee pads (a memory foam dog bed on the side is even more comfy to sit in), and continue to do what works best for your set up. The beautiful part about the Costco Garden Bed Whelping Boxes is that they’re configurable, adjustable, easy to clean, and can be arranged in a multitude of shapes and sizes.

A few tips and tricks
- Use your puppy’s blue kiddie play pool to sanitize the panels each year
- REScue One-Step Disinfectant Cleaner & Deodorizer – It’s so effective it will kill Parvo.
- Store your panels back in the box.
- Use Chlorox wipes to simply wipe your panel walls down daily. We love the panels are smooth and don’t have bumps and ridges for stuff to get stuck in.
- Be prepared for the worst – have Delee suction tubes, bottles and nipples, Esbilac puppy milk replacer, Karo Syrup, and a great vet on hand that knows you’re expecting a litter.
Investing in your breeding program with expensive items like a Puppy Warmer incubator, oxygen concentrator, or mesh nebulizer will help your breeding operation succeed, continue to grow, and continue to be configurable based on that year’s litter and needs. Continue to be configurable with your program like the garden box itself 🌱.

Leave a Reply